Burris makes remarkable products, and its first launch into the all-in-one rangefinder/bino system is worth your hard-earned greenbacks.
by Jace Bauserman
A few years back, I was hunting elk on Colorado’s sunlit plains with a buddy who kept probing me to try his binoculars.
He was instant, and I got annoyed. Finally, I told him, “Bud, my binos work just fine for me.” He rolled his eyes, nodded, and slid his fancy-to-do binos back in his harness.
On the third day of the hunt, I spied a bull. We cut the distance, but I was having trouble getting my small handheld rangefinder to give me an accurate reading. Yes, I was shaking, but I couldn’t get steady on the 400-plus-yard elk in the wind.
I was getting ready to press in closer when my hunting amigo whispered, “He’s 412 yards.”
I snapped my head in his direction and saw his binos glued to his eyes. When I asked him how he knew the range, he raised his eyes above the eyecups and said, “I just push this magic little button, but hey, these binos aren’t that good.”
That was the day I was introduced to rangefinding binoculars.
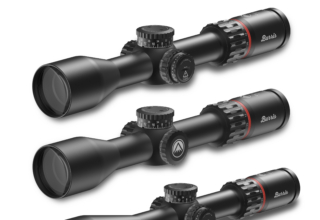
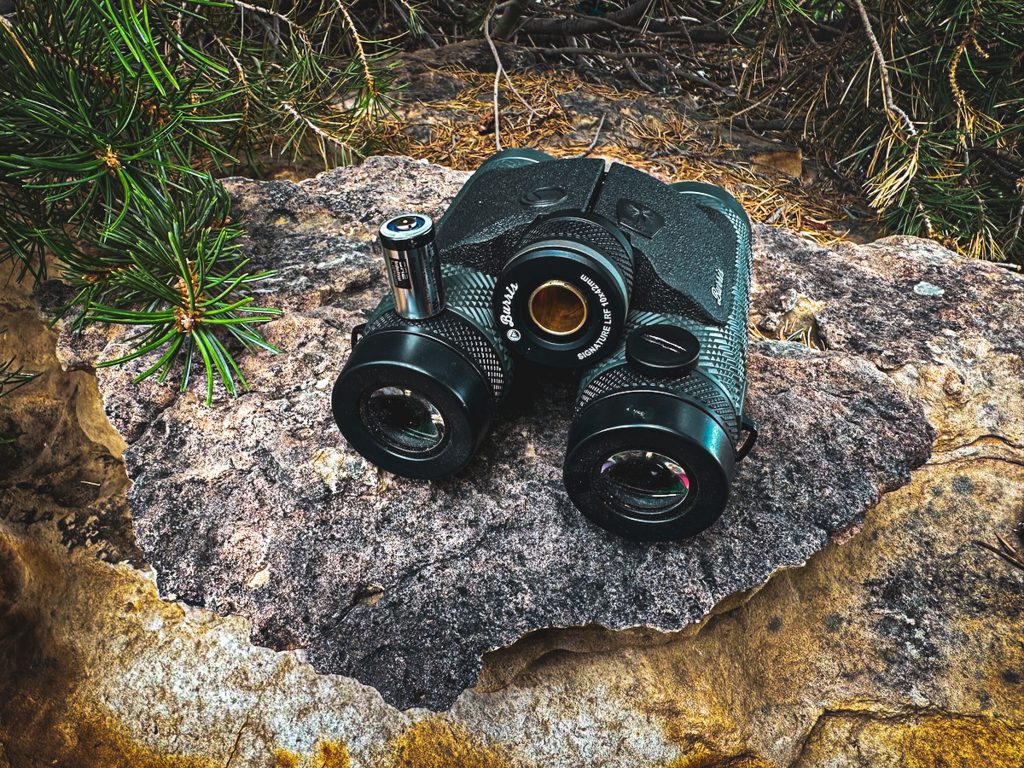
Enter Burris’ Signature LRF 10×42
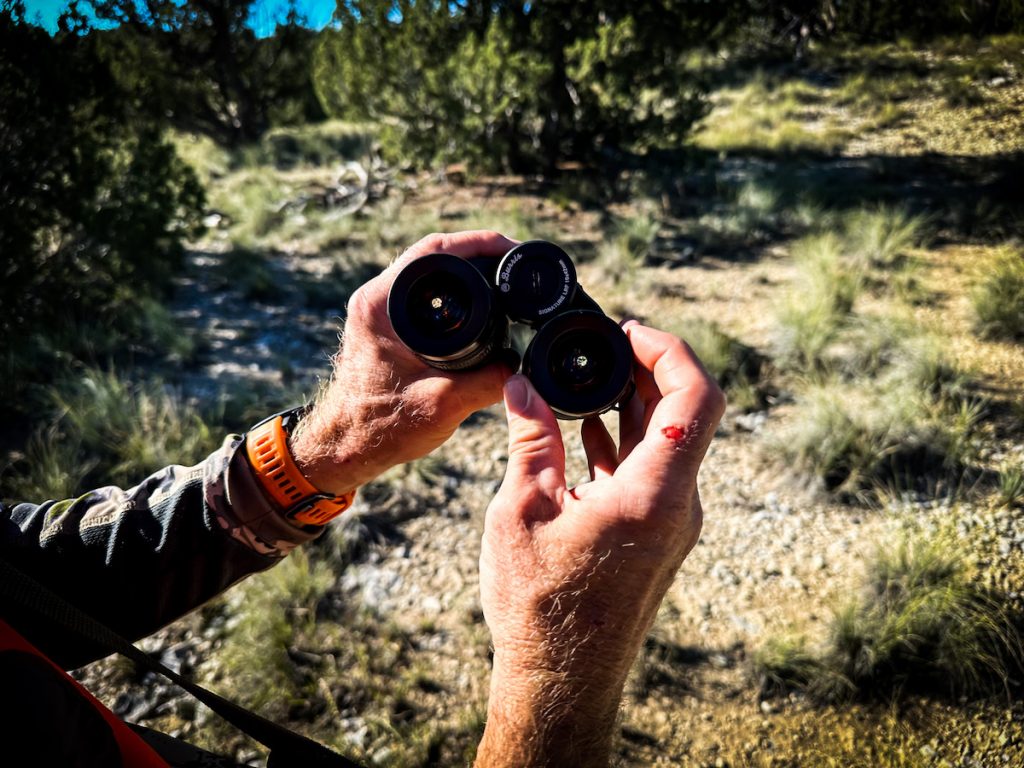
After using rangefinding binoculars, it’s hard to return to a small handheld unit. You can glass and range simultaneously with rangefinding binoculars, and the dual barrels mean increased balance and stability.
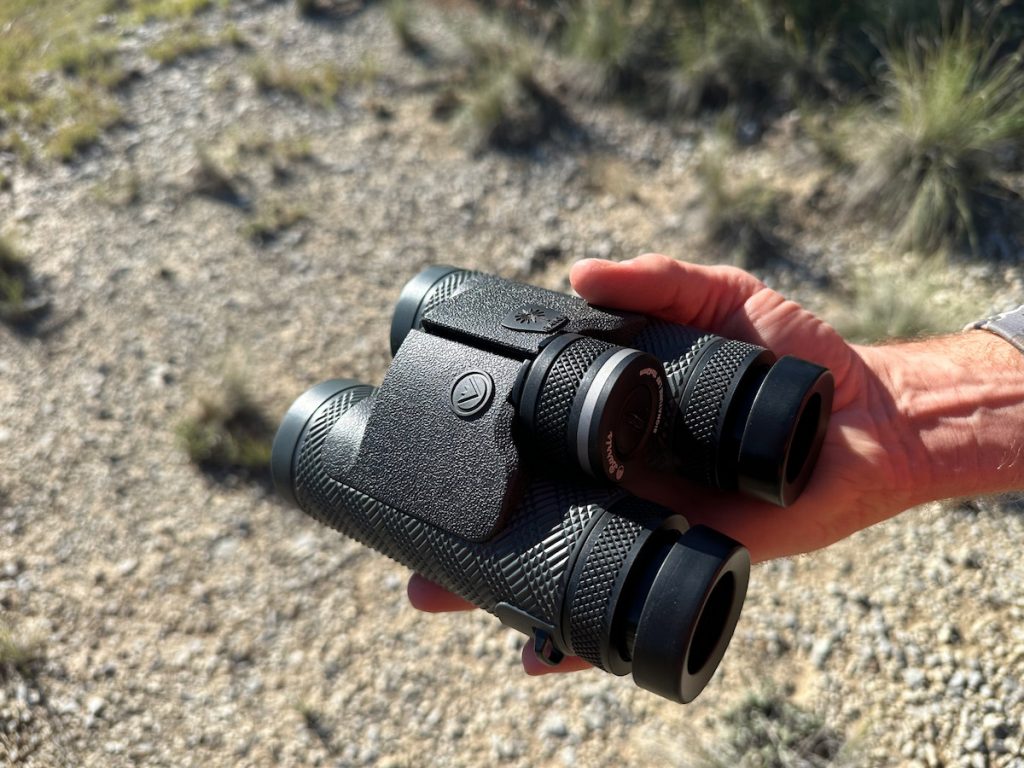
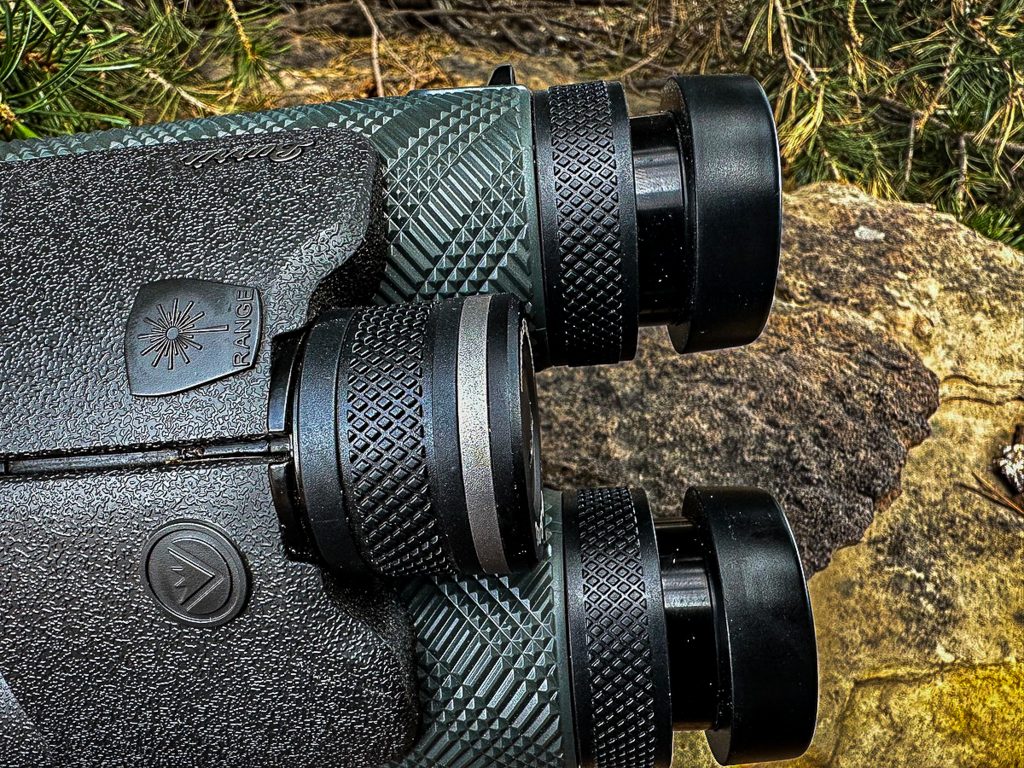
My hands shook as I opened the Burris labeled box and got my first look at the Signature LRF 10x42s. The build isn’t necessarily slim, but it’s far from bulky. The focus knob is gridded and oversized, the eyecups twist out, and I loved the rubber armored body.
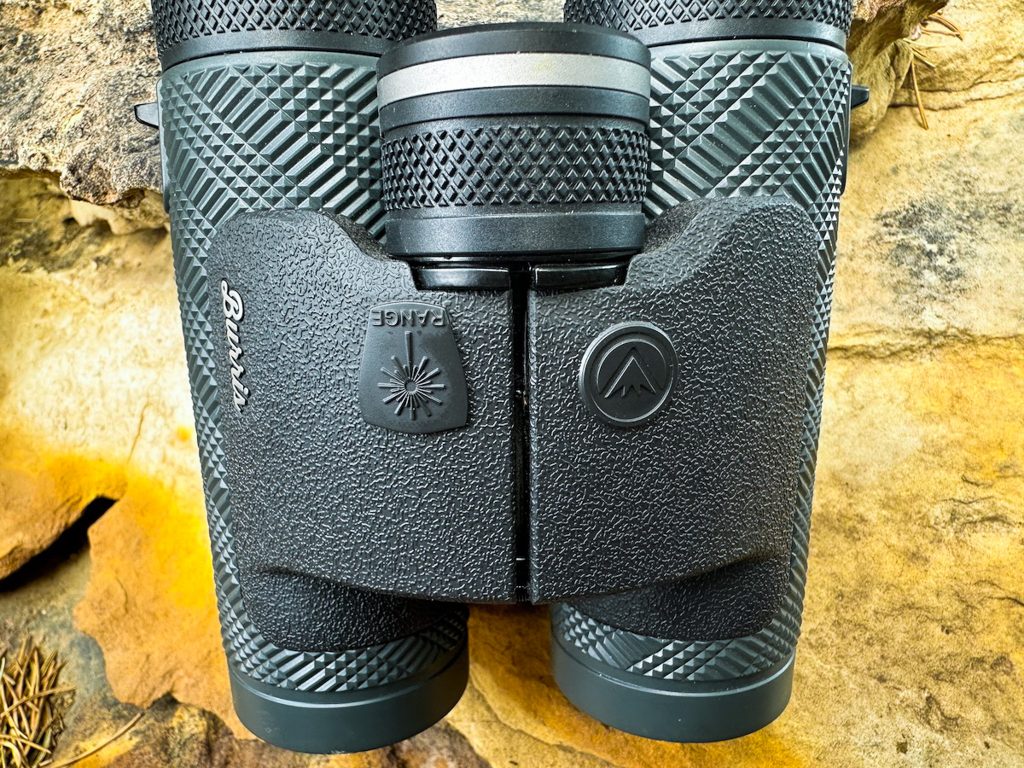
The binos measure 6 inches long and weigh 36 ounces. Two buttons are featured on the left and right sides of the bridge in front of the focus knob. The button on the left is the Mode button, and the one on the right is the LRF Power and Ranging Button. I was thrilled to see only two buttons. Two buttons mean instant access with index fingers, and it’s easier to create a muscle memory pattern so you can quickly use and switch between modes, displays, and brightness options in the field.
First impressions are a good thing, and these binos made an excellent one.
Setup
I hate feature-rich products that require a degree from MIT to set up. These rangefinding wonders aren’t that way. Use a flathead screwdriver to remove the battery compartment door located on the backside of the focus knob. Next, insert the included CR2 lithium battery (negative end facing out), and you’re ready to start scrolling through the features.
I prefer to set up rangefinding devices outside. With these rangefinding binos, glass an object about 25 yards away and use the focus knob with the individual left and right diopters to get a clear image. Now, hit the Power button. A red LED display will pop up with a circular reticle. Hold the Mode button for two seconds to access the settings.
You will first see Auto, Sport, and Hunt Modes options. Sport Mode is displayed with a golf flag graphic, and Hunt Mode uses a scoped rifle graphic. Auto Mode is the factory default setting.
Auto Mode displays the range of the target with the strongest signal. Sport Mode displays the range of the closest target in a group, and Hunt Mode displays the furthest range of a group of targets, which is handy when ranging through grass and debris.
I opted for Hunt Mode, but swapping between modes is ultra-simple.
Next Up
Selecting yards or meters as your increment of measure is next. Click the Mode button to select yards or meters, and then click the Power button to save your choice. No matter what you’re doing inside the settings menu, always click the Mode button to toggle and the Power button to select and save.
After selecting meters or yards, you will need to set your display. Like choosing your mode, setting the display is ultra-easy. You have five display modes to choose from that include:
LOS – Line of Sight
HOR – Horizontal Distance
LOS & HOR – Line of Sight and Horizontal
LOS and ANG – Line of Sight and Angle
HOR and ANG – Horizontal Distance and Angle
The factory default is Line of Sight. To toggle between display options, press the Mode button. Once you select the display you want, press the Power button to save your display choice.

I performed several tests of each display. All work remarkably well. The yardage readout is immediate when the Power/Range button is clicked, and when set in a display mode that calls for these rangefinding binos to provide a pair of ranges, you can count on those ranges being exact. The LOS and HOR display was my go-to for a pair of Colorado rifle elk hunts. The focus wheel is exceptionally smooth and precise, and the eye-cups twist out for maximum eye relief.
On one hunt, the shot to my elk off the cap rock was 472 yards LOS, but the accurate HOR distance to the target was 404 yards. I love and applaud the many display options the Signature LRF 10x42s come with.
Better Brightness
Besides providing the user with a right-now range and an ultra-clear LED display, these rangefinding binos shine in the brightness arena. You can match the LED display to any brightness setting with five brightness settings.
What I Love
There are many things about Burris’ Signature LRF binos that I love.
First, as previously mentioned, I love how quick and easy these rangefinding binoculars are to set up. After battery insertion, you can easily toggle between modes, displays, and brightness settings and be ready for the field. Also, you will appreciate the instant yardage reading you get when the Power/Range button is depressed.
Second is the feel of the rubber armored grip. It feels excellent in hand, protects against the elements, and adds extra durability should you drop them.
Third, I appreciate the brightness setting. In seconds, you can adjust the red LED display’s brightness to match outside lighting conditions. I did discover that the Level 3 setting was almost perfect in all lighting conditions.
I must also mention that over an extended field test in super hot weather and wet weather, I never had a single mechanical malfunction.
What I Would Like To See
Burris’ first attempt to create rangefinding binos was a good one. At $1,200, the Signature LRFs are a steal. However, some features didn’t meet my expectations.
Optical clarity, especially in lowlight conditions, is essential. Though the HD glass is reasonably clear and sharp when light is easily gathered, I struggled to achieve excellent optic clarity in lowlight situations. When light is low, these rangefinding binos seemed to struggle to gather light and provide a clear image.
This is my only complaint. Should Burris come out with version 2.0, I wouldn’t mind the price point creeping up as long as the optical clarity improves.
Final Thoughts
I let a few friends tinker with the Signature LRF 10x42s during my testing period. All agreed with my analysis: easy to set up, extremely functional, and rapid response time. All also agreed that optical clarity and field of view needed to improve.
One friend brought up the issue of weight. He said, “I like them, but they are a little heavy for backcountry use.”
One must remember that the Signature LRF 10x42s are an all-in-one system — bino and rangefinder — so they will weigh more than a standard set of binoculars. After carrying these rangefinding binos on my chest for several weeks, my bino harness felt no heavier because it excluded my handheld rangefinder. Be sure to keep this mind no matter what rangefinding bino you’re considering.
I will also mention that I would recommend these rangefinding binos for all types of hunting and all species of big game. From bowhunters perched in a treestand to western goers looking to make a long-range shot on a big bull, these rangefinding binoculars will get the job done.