Elk are massive creatures. Mature bulls often weigh over 600 pounds — some near 1,000 — and getting an elk off the mountain will seem impossible if you don’t have the right tools to get the job done. Heed the gear advice to come and be ready for an elk extraction.
by Mark Kayser
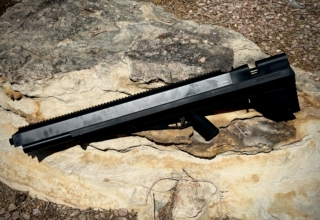
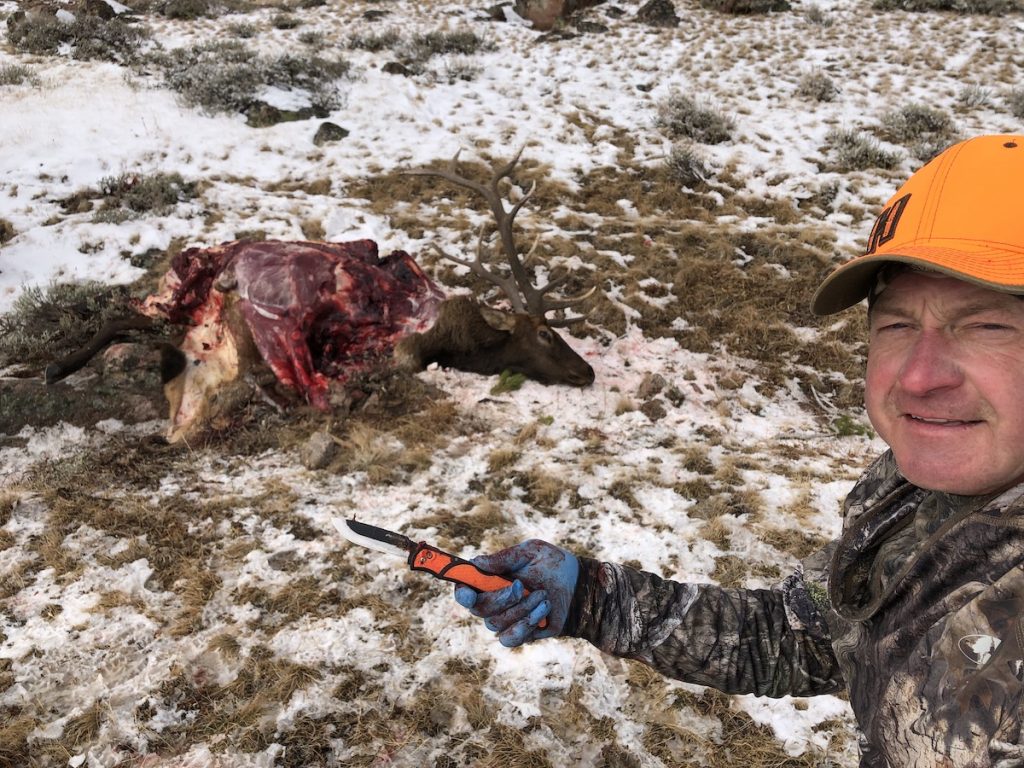
I gripped my Prime bow as I watched the bull elk crash away through a maze of dogwood pines. Suddenly, he hit the brakes less than 60 yards out. His huge frame began to wobble and then, like a UFC fighter reeling from a perfect face punch, crumpled to a heap thanks to the work of a razor-sharp G5 Montec broadhead.
After waiting a few minutes to guarantee the giant was down for good and to settle my rattled sensory apparatus, I stalked to the bull to ensure his reign was over.
It was at that moment that reality hit home. I stood over the trophy of a lifetime, estimating its weight at more than 800 pounds, alone and separated from my ATV by grueling, steep elevation. All meat hauling would be performed under backpack loads nearing or exceeding 100 pounds.
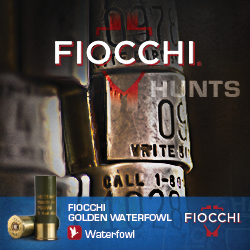
An elk or moose represents an enormous extraction chore, mainly if you must hike portions back to a trailhead or landing strip. A deer or pronghorn also has its challenges. All require a basic gear inventory to take a freshly killed animal from a whole unit to packable portions. You may not need all these items if you can maneuver a truck to your tagged animal, but in situations where you cannot, preparation is paramount.
Getting Down To Business
Your most essential tools in whittling a complete animal into quarters, boned or deboned, include sharp knives. There are two schools when considering knives. You can go the old-school way and utilize a folding or fixed-blade knife or consider the contemporary trend of knives utilizing a replaceable blade. I am an equal-opportunity butcher and usually have one of each stashed in my pack.
You cannot debate the structural sturdiness of a quality fixed-blade knife. A high-grade steel melded into a rugged handle gives you a tool that will not break, even when cutting the vertebrae sections between the skull and neck. A fixed blade may weigh a bit more, but that often comes from using superior materials in construction. Folding blades also have a place in any breakdown chore, but shop wisely. The very nature of a folding blade adds a mechanical nature to the tool that could fail.
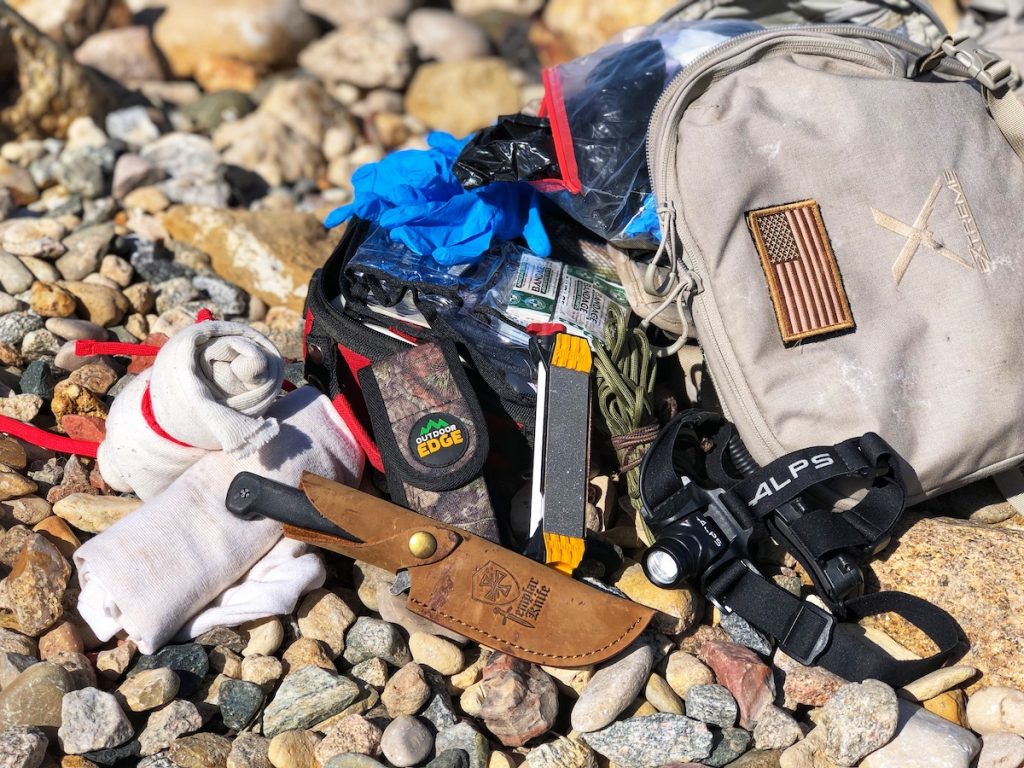
Last season, I tested the Templar Reagan Field-Dressing Knife and was more than impressed with its overall toughness. It handled everything from skinning to deboning easily and did not need a touchup. The knife was so rugged. I believe I could have lashed it to a spear, killed a critter, and then butchered it.
I also appreciate the ease, sharpness, and speed of swapping out a blade on a replaceable knife model. A Havalon Piranta Edge knife is kept at camp for detailed caping purposes. It is as precise as a surgeon’s scalpel and allows me to work around and release delicate hide, such as found around the preorbital glands of a whitetail.
I lean to an Outdoor Edge RazorPro L 3.5-inch model in the field. It incorporates a folding design with an ideal-sized blade. Most veteran hunters appreciate a hunting blade of 3 to 4 inches. I can expect to swap out about three blades on an elk, so it does cost you for blades, but at that point in the hunting game, a few extra dollars are moot. Negatives on this as your primary knife, replacing blades aside, is that the folding channel gets gunked up, and when forced, blades snap. For skinning and deboning, it sails along effortlessly.
If a fixed blade or folding knife is your option, research a sharpener you can bring along for quick field touchups. Work Sharp Tools leads the way and has two possibilities. I utilize the Work Sharp Guided Field Sharpener or their Micro Sharpener and Knife Tool. Dull blades lead to accidents, and you can read about that in the last section of the article.

A Matter of Meat
With a knife in hand, it is time to focus on meat. Even if a new hat rack is your primary goal, a winter’s worth of fine dinging should not be ignored. Start with personal protection, and I do not mean what you learned in high school health class.
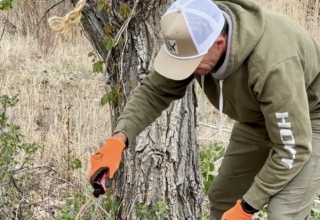
Wear surgical-style gloves to guard your hands and help avoid animal fluids. This goes from gutting (if required) to skinning and quartering. Latex examination gloves and the more rugged nitrile style of rubber gloves protect you from all things nasty and possibly infective from the animal you are working on. Keep several in your pack. If one rips, change it out after working on the head and vertebrae where Chronic Wasting Disease can linger. Two knives are better than one to help you swap after vertebrae and skull chores before cutting into meat. There is no evidence of CWD jumping from animals to humans, but why gamble?
Next is the procurement of bags where you can efficiently store any slabs of meat removed from the animal. The go-to for years has been cheesecloth since it offers protective yet breathable layering to safeguard flesh from outside contaminants. If you prefer a more durable alternative, go with canvas, and for those seeking germ safety, manufacturers now offer antimicrobial game bags. Cabela’s has many of these options. Game bags can handle moose and elk quarters or large slabs of deboned delicacy.
In addition to game bags, bring along several Ziploc bags; the more prominent, the better, and standard-sized garbage bags. Ziploc bags help guard meat luxuries such as the inside loin, heart, or liver. You can easily find these portions in Ziplocs instead of fishing through a game bag of slippery venison.
Garbage bags offer a medley of aids, but I first use a black garbage bag to lay out all my gear adjacent to the carcass for easy access and locating. A second bag doubles as a floor mat if I want to drop to the ground and rest without getting my bum soaked from dew, rain, or snow. Lastly, as a cleanliness nut, I line my backpack with a garbage bag before dropping in a bag of bloody meat. Why spend an extra hour washing blood off my pack at home when I can simply toss a blood-soaked garbage bag worth $1 at most in my pack?
My pack also includes a portion of paracord or several lengths of retired baling twine courtesy of winter horse feeding. This comes in handy to lash up legs during a solo dismemberment adventure. On steep terrain, you can tie down an animal so it does not slide away. A few seasons back, I had a mature bull decide to join the Jamaican bobsled team halfway through deboning. I lashed him immediately after his first escape attempt.
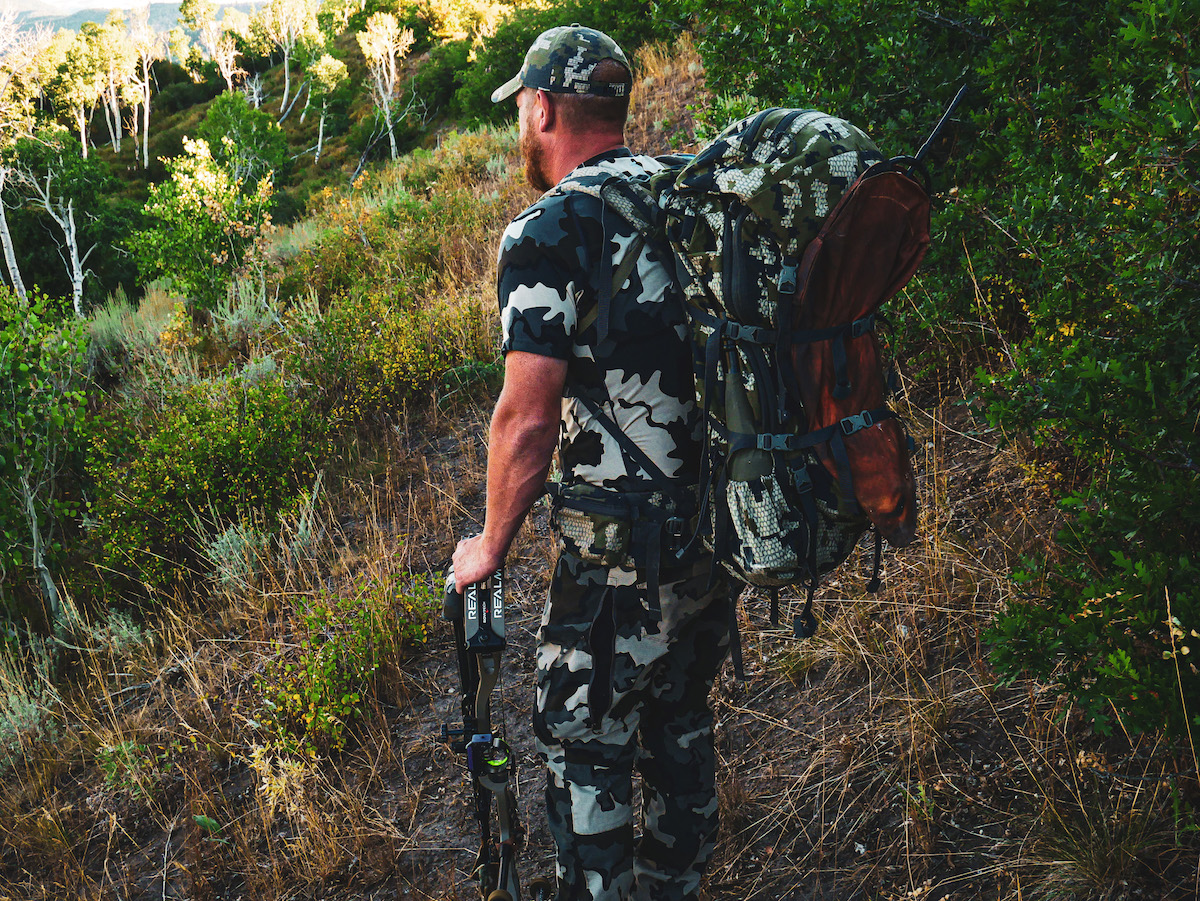
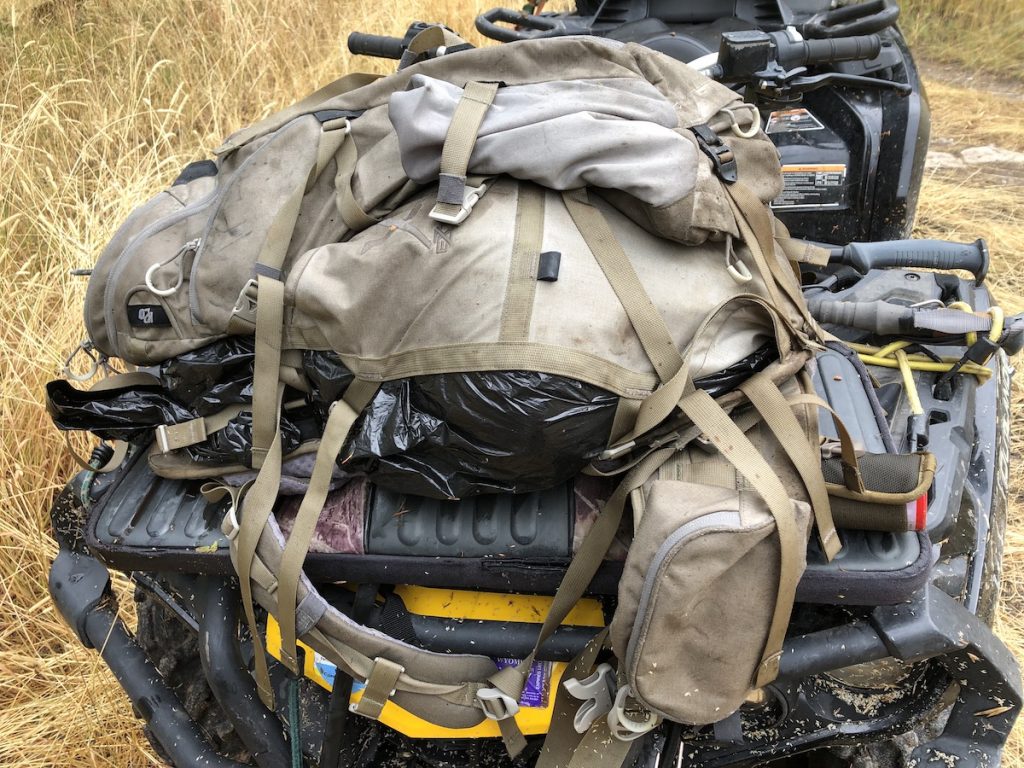
After mentioning backpacks several times, it bears repeating: purchase one that will handle your targeted objective. Today, whether chasing whitetails or wapiti, I go more significant with my backpack choice. I have been using the ALPS OutdoorZ Elite frame pack, and its customizable design tailors it to any chore. You can utilize the frame alone for packing meat or add packs to the frame to fit your needs in cubic inch sizes of 1,800 and 3,800. I keep the 3,800 pack on mine for nearly every outing, including shed antler hunting, pronghorn hunting, and elk pursuits.
In Case Of An Oops
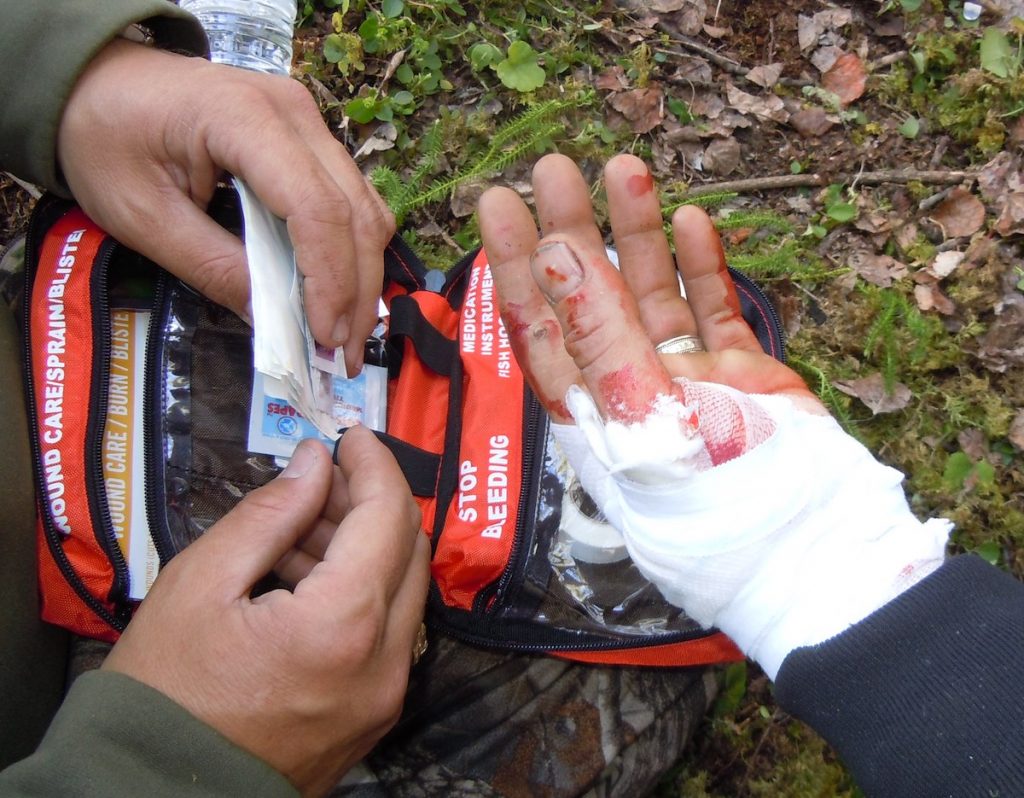
A final consideration for any chore that includes a sharp utensil is having a first aid kit. If you are on a backpacking trip or a day trip into the woods, research a kit that handles the unexpected yet does not bog you down. Your kit should include a variety of bandages, liquid bandages, field dressings, antiseptic wipes, pain relievers, and possibly a tourniquet. Beef it up with butterfly closures, QuikClot hemostatic devices, medical tape, and a how-to manual to minimize blood loss.
My hunts vary, but like the elk I arrowed in the opening, I can typically break down that size of critter in 2 ½ hours. A deer takes considerably less. Be prepared. It is a big job, but part of the hunt.