Wanting to create the ultimate backcountry assassin? Here’s how.
One of the main questions I get asked each year at outdoor seminars, via email, and through social media platforms is: Do you set up different bows for different hunts?
The answer: Yes. Here’s why.
I’ve been toting a stick-and-string from north to south and east to west for over two decades, and during that time, I’ve learned a few things. First, there is such a thing as a one-size-fits-all bow. Don’t think for a second you can’t come West with your trusty whitetail rig and deflate the lungs of an elk, mule deer, or pronghorn. Second, if you’ve become a backcountry junkie or feel the need to set up a bow for your first off-the-beaten-path sojourn, it’s an excellent idea.
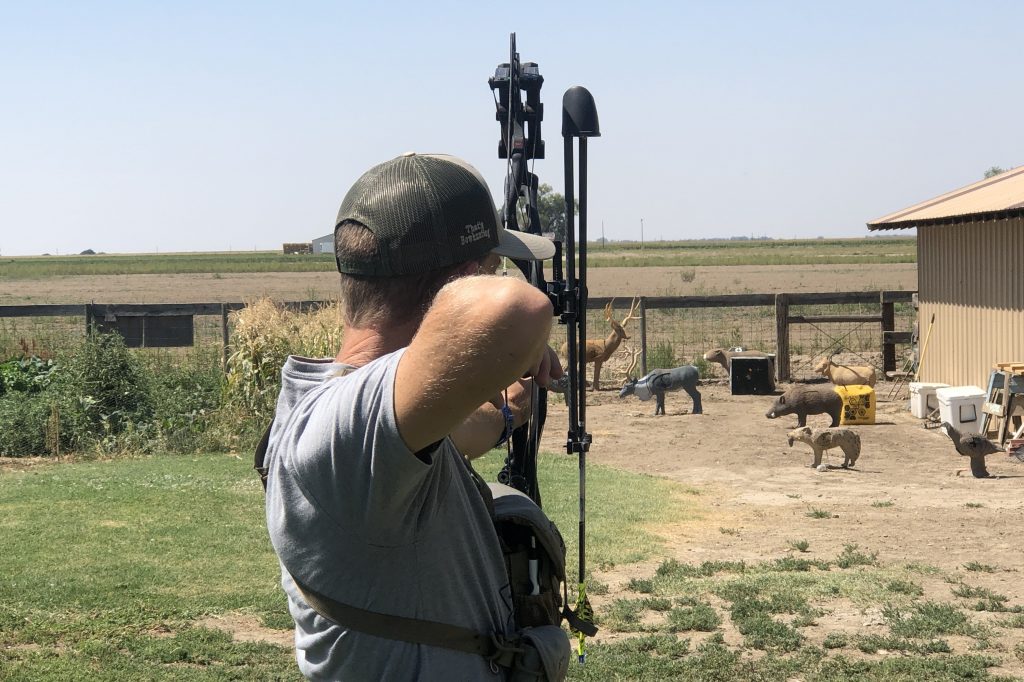
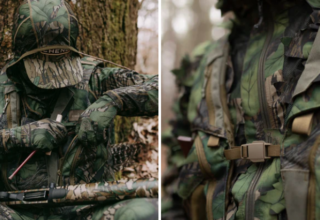
The Bow
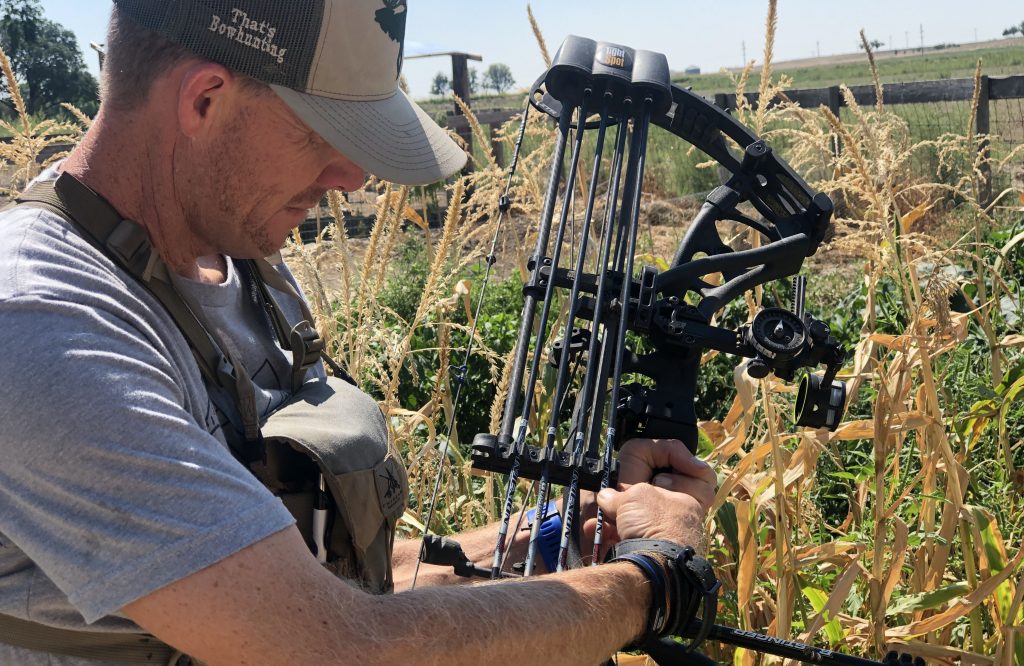
Weight will always be an issue for backcountry hunters. I know legions of western wanderers that weigh every single item that goes in their pack. When you’re spending days off the grid, hiking miles in daunting terrain, it takes a toll on your body and mind. I don’t want my bow to feel like an anchor. For this reason, I like a bow with a bare weight (no accessories attached) between 4.2 and 4.7 pounds. Some of my favorites include those in Hoyt’s carbon line, as well as lightweight models like Mathew’s V3 rigs and Bowtech’s Solution.
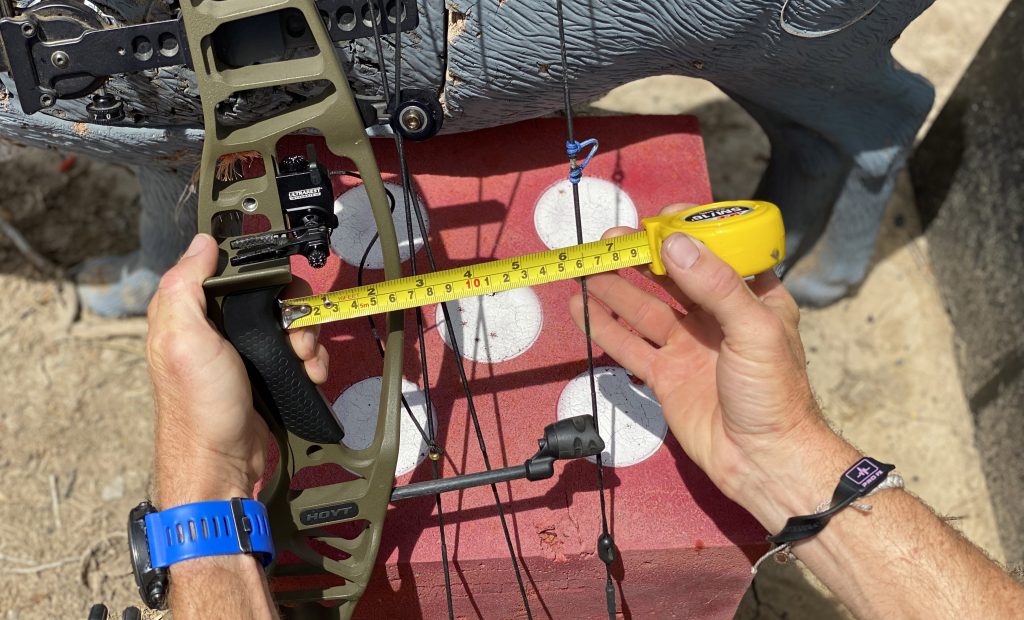
Axle-to-axle length is something else to consider. I prefer a longer axle-to-axle bow for mountain hunting. My sweet spot is 33 1/2-inches axle to axle, but I also don’t mind going a little north or south of that measurement. While axle-to-axle length is a personal choice, I like the balance a longer rig provides. Shots on big western game like mule deer and pronghorn tend to be longer than traditional whitetail shots, and I shoot a longer bow better. When it comes to the elk woods, maneuverability is essential, but don’t think for a second that a 33- or 34-inch bow will hang you up.
Brace height trumps speed when it comes to a backcountry shooter. Try not to fall below the six-inch mark. A longer brace height puts more distance between the deepest part of the bow’s grip and the string, which means you won’t have to draw the string back as far to reach your set draw length. A more extended brace height helps with overall forgiveness.
Arrow
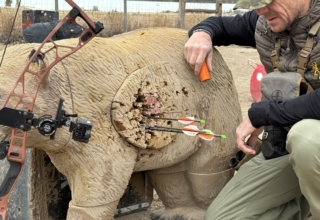
Even if you choose to go with your whitetail rig, this is something you want to consider before heading West. Arrow choice is crucial, and not all arrows are created equal. Time in the mountains and sage-dappled plains has taught me that one accuracy-robbing factor is usually present, and that factor is the wind. Look to a micro-diameter shaft. Easton’s 4mm Injexion arrows were my go-to for a grip of time, but his year, I started shooting the manufacturer’s Axis 4MM Long Range, and I won’t be making a change anytime soon. With a diameter of just 4mm and made from a 100 percent carbon-fiber build, these shafts cut through the wind like butter. Less surface area gives the wind less to push against, and the build helps with penetration. As the arrow follows the wound channel created by the broadhead, it has less contact with the inner parts of the animal, and friction is reduced. The Half-out insert, much different than Easton’s HIT insert, protrudes out from the shaft and accepts standard 8-32 threaded field points and broadheads. My Hoyt RX-4 is set at 68.4 pounds of draw weight and propels these dart-like arrows at 302 feet per second. Tipping the scale at precisely 405.5 grains, these arrows provide a kinetic energy rating of 82 foot-pounds.
Do yourself a favor and shoot in the wind — sling carbon in crosswinds, headwinds, and tailwinds. Learn the full capability of your arrows and learn where you hold points should be when the wind is bucking.
Sight
You can’t jump on social media or YouTube without seeing guys and gals testing their max shooting range. Remember, bowhunting is still a close-range game, and while today’s bow-and-arrow combos are capable of excellent downrange accuracy, you should do everything in your power to get as close as possible.
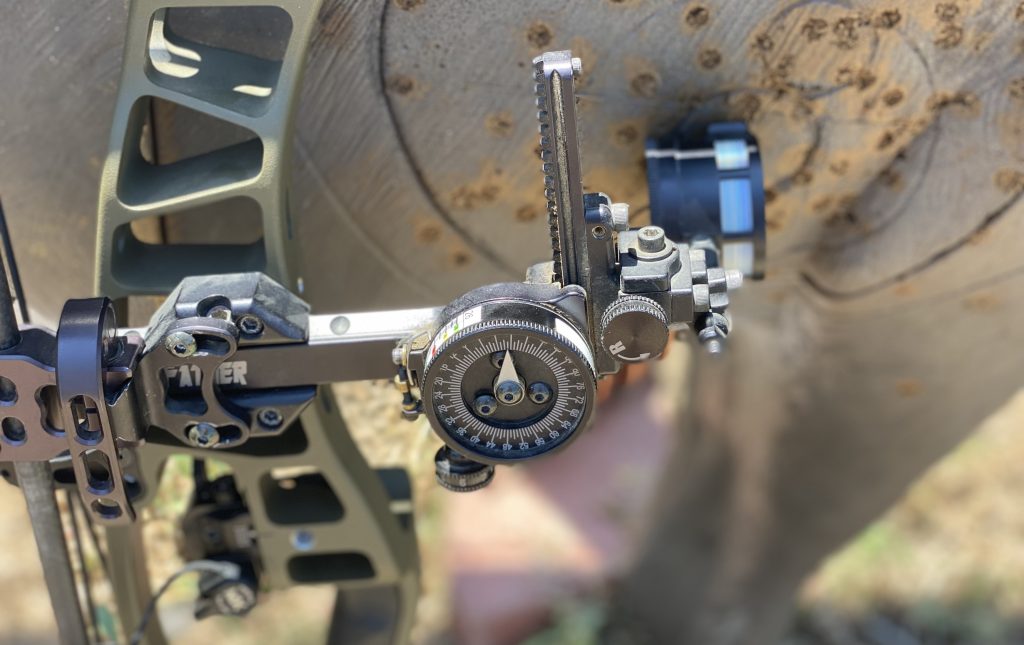
With that noted, if you’re going to be a western killer, it’s my opinion you need to be able to drop the hammer at distances out to 65 yards. I also recommend regular practice sessions at 70, 80, 90, and 100 yards. Shooting at longer distances builds confidence and makes shots at 40, 50, and 60 yards feel like chip shots. A standard 5-pin sight isn’t going to cut the mustard, and a fixed 7-pin sight clutters the housing. I’m not a fan of pin gapping, especially when shooting beyond 50 yards. I like dial-to-the-yard capability, and a single-, double-, triple-, or five-pin slider sight should be considered.
Don’t be intimidated by these sights. They are easy to set up, and finding a suitable sight tape doesn’t take a Harvard degree. Another bonus to a moveable sight is that most come with all the bells and whistles. Things like micro-adjust windage and elevation are essential, as is third axis. If you don’t have your third axis set correctly and you’re shooting at extreme up and downhill angles, your bubble will be lying to you, and your arrow won’t hit its intended mark. Some of my go-to backcountry sights include Spot Hogg’s Hogg Father Double Pin, Apex Gear’s Covert 4-Pin, and Axcel’s Landsylde with a 3-pin housing.
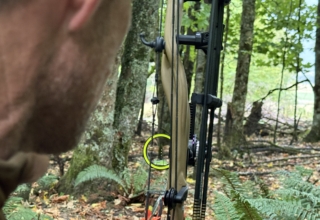
Stabilizer System
Yes, I know the rest is essential, but if you’re running a cable or limb-driven drop-away and it’s tuned and ready to go, you’re all set. For this reason, we won’t be wasting much ink on rests and will be jumping straight to stabs.
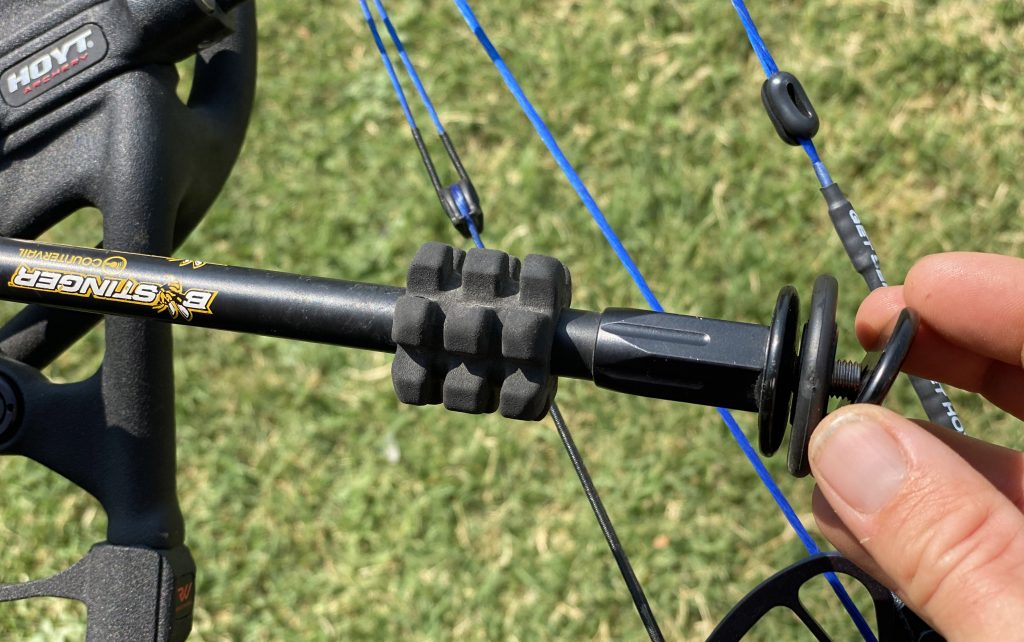
I know I alluded to weight in the earlier part of this article, and I’m not going back on what I said. I like a lightweight bow. If my bow is light, I can add must-have accessories, and it won’t fill like a tank.
The job of a stabilizer is not to drown out the noise and pull vibration from the bow. This is a bonus of a good stabilizer, but the primary purpose of this bow-mounted accessory is to help stabilize and balance the bow. A six-inch stabilizer isn’t going to “stabilize” a thing.
I recommend running a more extended front bar, no shorter than 10 inches, and a back bar that is no shorter than 8 inches. The back bar attaches to a quick-release offset mounting bar. This bar will allow you the ability to customize your back stabilizer bar up, down, left, and right. Those from Bee Stinger, 365 Archery, Fuse, and others will also come with a number of one-ounce weights. Take the time to experiment with your stabilizer setup. Tinker with different weight settings in the back and front and play with your back bar’s angle. If you take the time and do this, you’ll notice an immediate benefit. The bow will feel more balanced with your quiver attached, and you’ll feel extremely steady at full draw. A suitable stabilizer system also helps with proper follow-through.
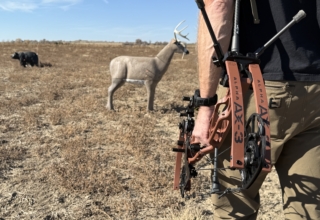
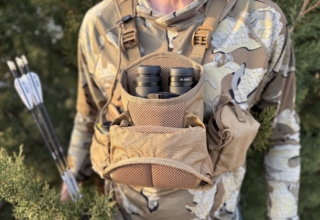
Quiver
Last but certainly not least is your quiver. First, your quiver should be adjustable up, down, left, and right. In addition, it needs to be capable of holding micro-diameter arrows without letting them shake, rattle and roll. Be sure your quiver of choice — it’s hard to beat a TightSpot — will hold your arrows tightly and has maximum adjustability. For those that like to remove their quiver before the shot, be sure you choose a quiver with a quality mounting system and one that doesn’t require you to pull, jerk, and create noise to get it off your bow.
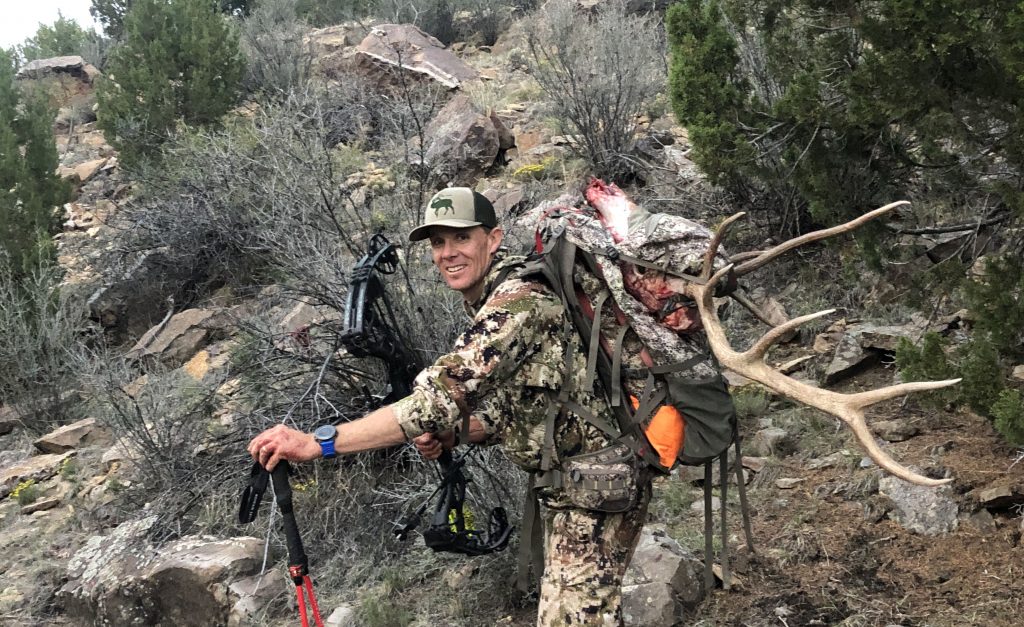
You may have to break out the wallet to build the ultimate backcountry bow, but if you do, the payoff will be in backstraps and horns for the wall.
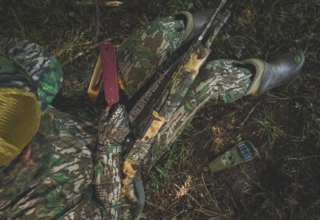
Broadhead
We didn’t touch on broadheads, but they are the business end of your arrow. Don’t get hung up in the fixed vs. mechanical debate. The bottom line is you need to shoot what you have supreme confidence in. I’m a mechanical guy. Why? Trusted brands like SEVR, NAP, and Rage have proven their worth time and time again in the bowhunting woods. I’ve killed 700-pound elk and 30 pound Texas porkers with them. Shoot what you trust. Some of my favorite broadhead choices are SEVR’s 1.5 and NAP’s KillZone.