This bow sight sets new streamlining standards that enhance and simplify the user experience while delivering all the technicalities necessary to achieve precision accuracy at long ranges.
by Darron McDougal
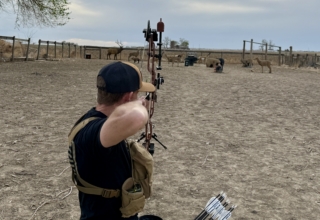
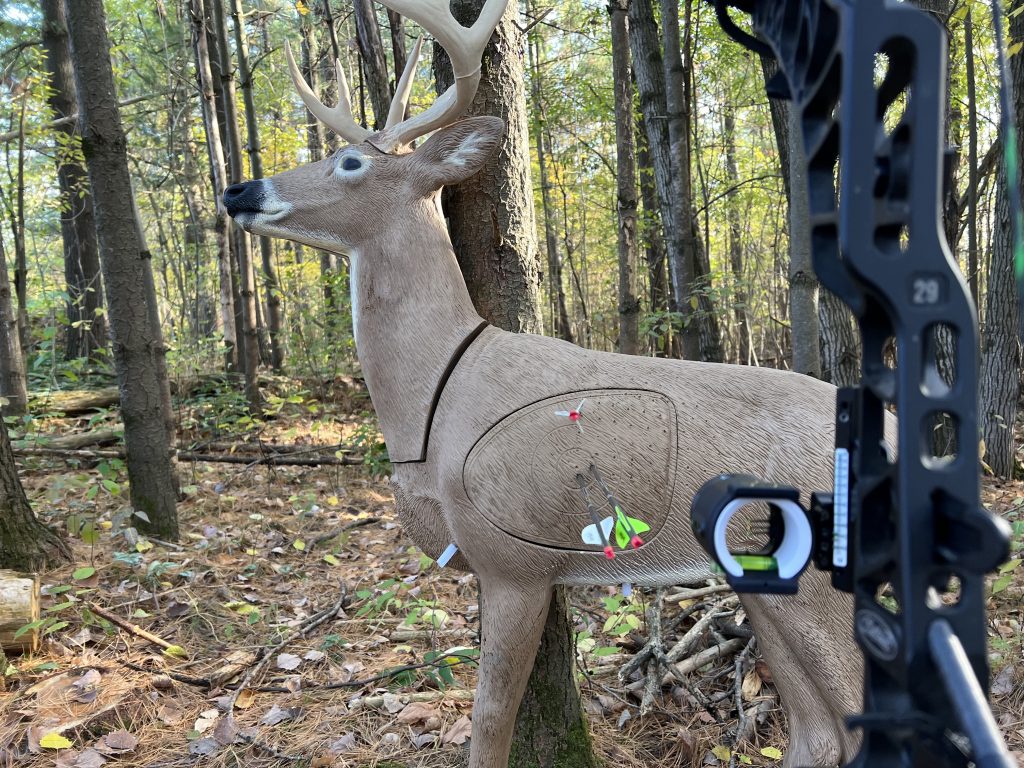
About 2 seconds after my shot broke, I heard a thump 120 yards away on my Rinehart deer target. It was my first shot from 120 yards after installing and setting up ULTRAVIEW Archery’s UV Slider on my Mathews Phase4 29. My target lacked any distinguishable details due to a dark pine canopy inhibiting sunlight. It was a very challenging shot. Through my binos, I was shocked to see my arrow stuck in the center 12-ring.
I nocked another arrow and went through all of the same motions. Unbelievably, that arrow, too, hit the 12-ring. I want to say that I shot three 12 rings in a row from 120 yards. That would be a lie, though.The fact is, I was getting shaky, and my third arrow struck a few inches high but still in the lung area. The group blew my mind. It had been months since I’d flung an arrow farther than 80 yards — life happens. That 120-yard group is a testament to a well-tuned bow and ULTRAVIEW’s new masterpiece bow sight.
I can’t promise that the UV Slider will make you a 120-yard 12-ring shooter. However, after running it through its paces from 20 to 120 yards, I can assure you that ULTRAVIEW has delivered the sight many technical bowhunters and archers have been waiting years for. Let’s get into this sight’s nuts and bolts and my thoughts from testing it.
Unreal Streamlining
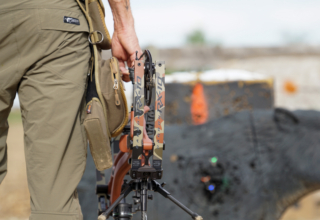
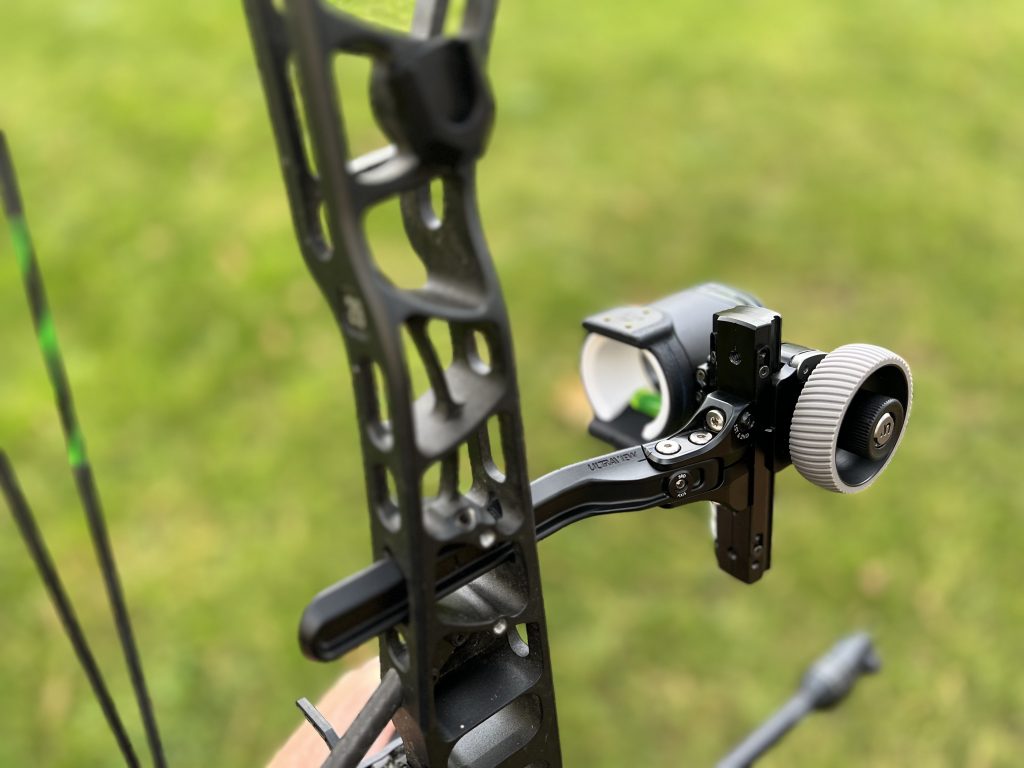
When ULTRAVIEW first launched its UV Slider, I immediately saw something different. I noted that it has the technicalities necessary for extreme precision accuracy at long ranges. However, what truly stood out was its streamlined yet durable platform. That sold me. I love technical features, but those often come with extra weight, bulk, and too much hardware. Not so with the UV Slider.
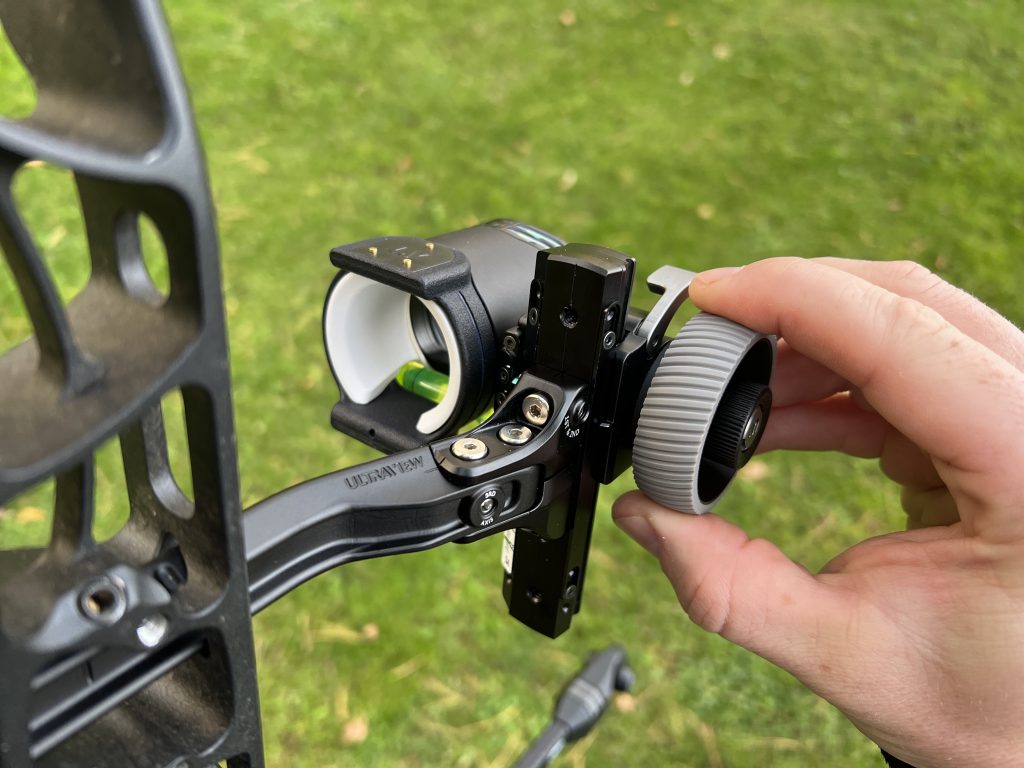
One complaint I’ve lived with while using a few other slider sights over the years is an inconveniently located or difficult-to-loosen elevation/slide lock. The UV Slider’s lock is conveniently positioned next to the Dual Dial wheel and is easy to operate. I can unlock it and spin the dial in one easy motion with minimal movement. The elevation adjustment is also ultra-smooth — a detail other slider sights lack. This is due to an optimized gear ratio and Anti-Backlash design. It’s hands down the finest and smoothest drive system I’ve ever experienced. Attention to detail? You better believe it!
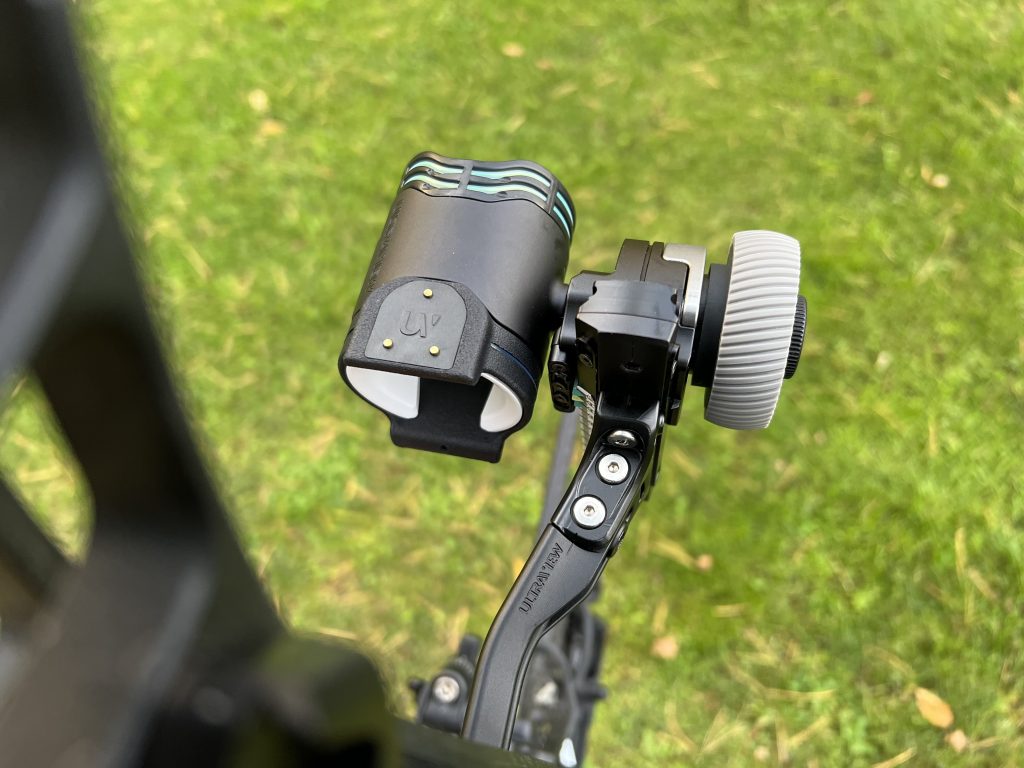
The UV Slider’s Dual Dial also contributes to its streamlining. The outer wheel features an ergonomic, textured ring for positive thumb/finger traction while adjusting yardage. Inside it is a smaller wheel for adjusting windage. Simply pull the knob outward, then twist it clockwise to adjust the scope toward the riser or counterclockwise to adjust it away from the riser. Push the knob back in to lock your new windage setting into place.
The UV Slider has three mounting options. There’s a conventional dovetail design with a mounting plate. There’s a model compatible with Mathews’ Bridge-Lock sight mounting system. And there’s a model compatible with bows featuring a Picatinny sight mount on the front of the riser. The sight also has a 1st- and 2nd-axis adjustment plus a 3rd-axis adjustment, which are easy to use.
Slam-Dunk Setup
I’m the guy who overlooks a user manual and relies on common sense to figure out how something assembles or sets up. I’ve dealt with too many poorly written/illustrated instructions for foreign-designed products over the last 30 years and the frustrations they incite. Fortunately, the UV Slider’s workings are primarily common sense. Some technicalities require referencing the user manual. Unlike most setup instructions, though, these were easy to follow, even for a guy who hates user manuals.
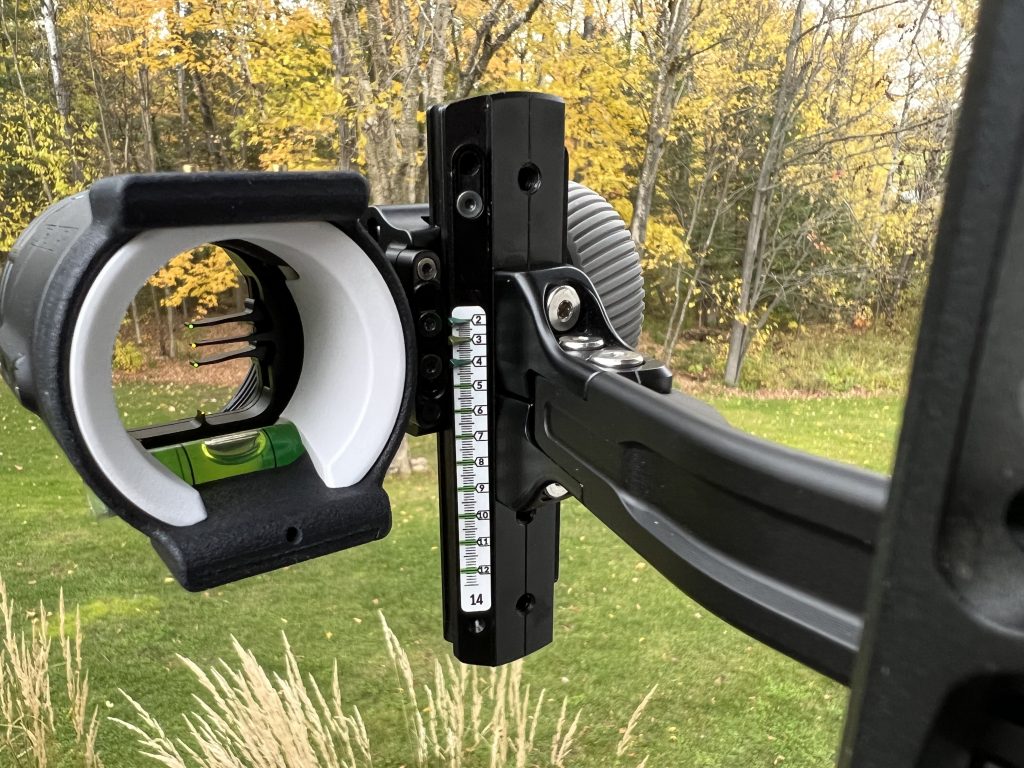
Here’s how the setup process looked for me. I’m shooting the 4-pin cartridge (I’ll talk about this in greater detail later), which is called the UV3XL SE. The non-adjustable 30-yard yellow pin is the sole focus during setup. I set the scope for windage and elevation using the Dual Dial until that yellow pin was dead on at 20 yards. Next, I positioned the included test tape on the yardage plate on the same side of the sight as the Dual Dial. I aligned the 20-yard tape mark with the black indicator. Then, I adjusted the elevation using the Dual Dial until I was shooting bull’s-eyes at 60 yards with that 30-yard pin.
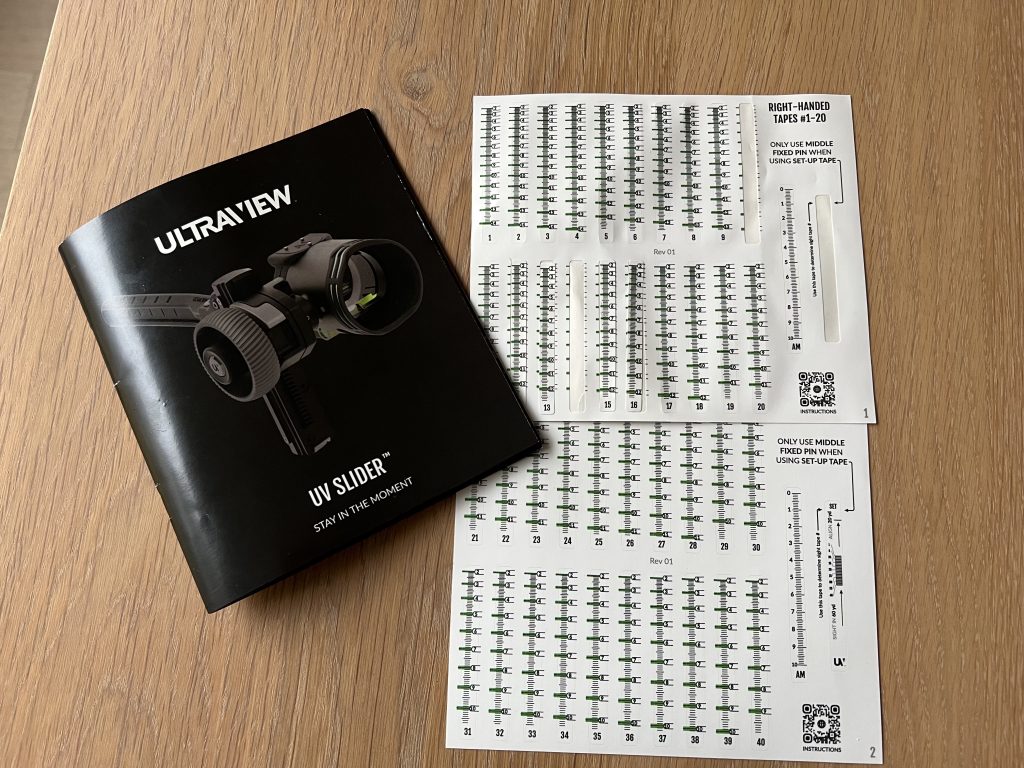
With that completed, I referenced the number the black indicator pointed to. That number corresponds with the sight tape number that will work for your setup. Before I placed the correct sight tape on the other tape plate with the TripleMark yardage indicators, I removed the pin cartridge (again, more on that later) and aligned the yellow pin with the sight tape’s 30-yard mark. Then, I adjusted my 20- and 40-yard pins to align with the corresponding yardages on the sight tape to get them close.
I reinstalled the pin cartridge, aligned the tape’s 60-yard mark with the fixed middle (yellow) yardage indicator, and pressed it down to fully adhere. I dialed the elevation until the yellow indicator aligned with the tape’s 30-yard mark. This was my “home” setting. I shot at 30 yards to confirm my zero, then at 20 yards with the top pin and 40 yards with my third pin to confirm their settings. They were very close, but I made a couple of minute individual-pin tweaks to get them dead on. After that, I moved the top yardage indicator to align with my 20-yard sight tape mark and the bottom indicator to align with the 40-yard mark.
That’s it! I was all set to shoot out to my tape’s maximum yardage by dialing the 40-yard pin’s indicator to my desired yardage. What’s cool is that all three pins correspond with specific yardages as you dial the sight. The fourth pin on the UV3XL SE cartridge is a “bonus” for super long-range shots. These are the shots that go beyond the sight tape’s maximum yardage. With my setup, that bonus bottom pin is on at 55 yards when the sight is in the home setting. So, I have pins for 20, 30, 40, and 55 yards without dialing.
One word of caution: Ensure the scope won’t interfere with your arrow and fletchings when dialed to longer ranges. I still have clearance when dialed to 120 yards, but every setup is different, and you don’t want to wreck anything or risk safety.
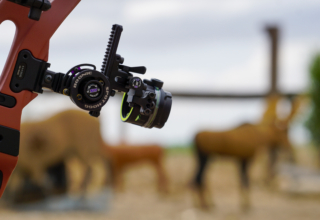
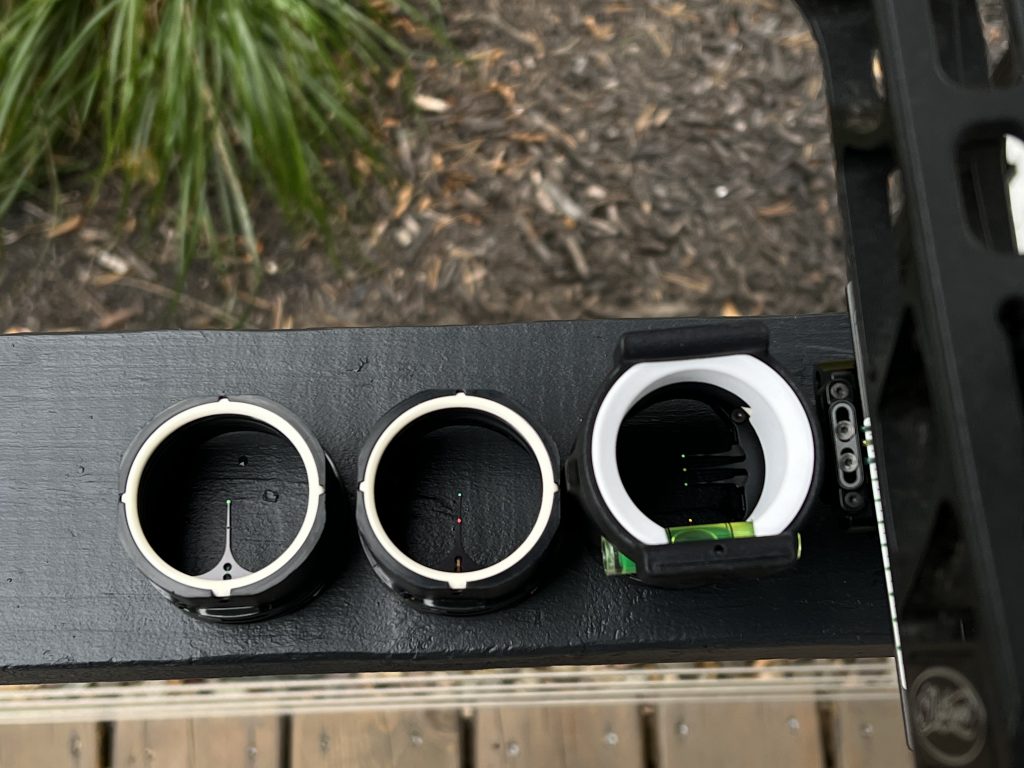
Cartridge Pin System
One of UV Slider’s most extraordinary points is that the pins are part of a streamlined cartridge. There are three differently configured cartridges, and you can easily interchange them. On the scope housing are two set screws. One is designed to unlock the light and level cartridge, and the other is designed to unlock the pin cartridge. This allows you to change the UV Slider back and forth from a hunting sight to a target sight without the considerable expense and hassle of purchasing two different sights or two different scope housings. This might seem like too many parts and pieces, but I assure you that this streamlined system stacks seamlessly together and is problem-free. Brilliant technology.
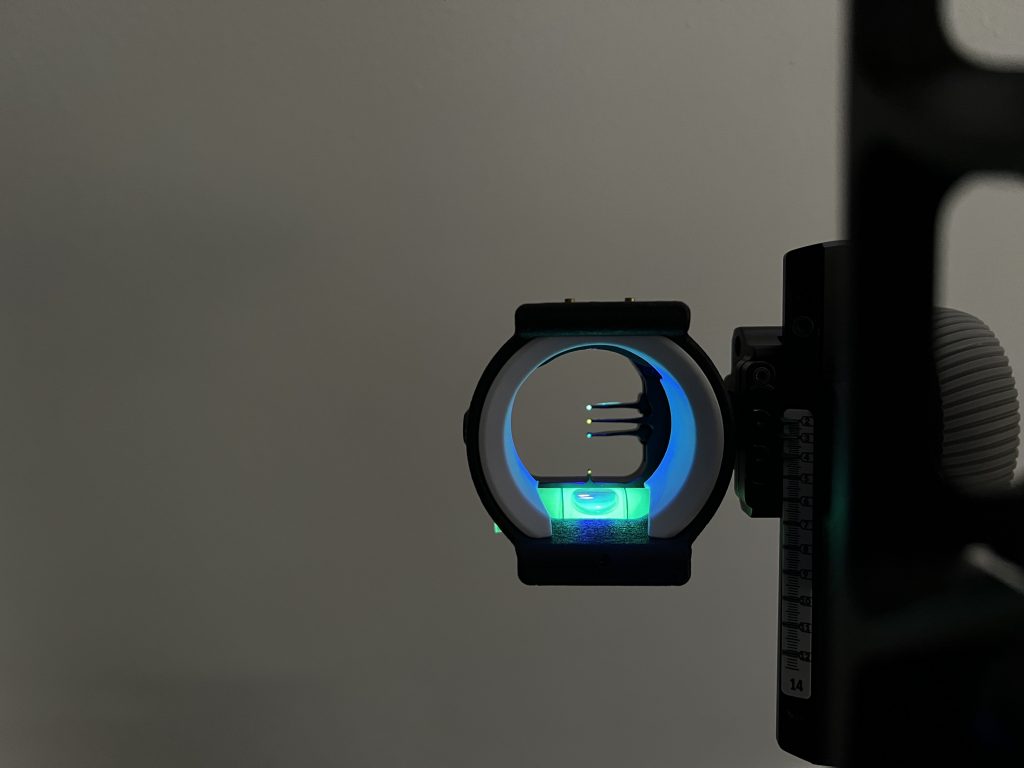
Integrated Light
Most aftermarket sight lights that thread into an appointed mount on your sight work OK, but the batteries don’t last long, or the bulb goes out.
The UV Slider’s integrated light isn’t merely an afterthought. It runs on a reliable CR2025 battery similar to what powers a typical red-dot firearm sight. The light has two functions using the on/off button: pin illumination and bubble/level illumination. Two separate controls let you adjust the brightness. It’s the best and most integrated light system I’ve seen.
For states that prohibit bow-mounted electronics for hunting, you can install a non-lighted scope cap (included with the sight) to stay legal.
Price Vs. Value
It’s time to unveil the UV Slider’s MSRP. For $599.99, you get the UV Slider, sight tapes, Compact Travel Case, White Viz Ring, a No-Light Cap, and pre-installed batteries. Yes, it’s expensive, but you’re getting what could be the market’s most advanced and forward-thinking slider sight.
Further, ULTRAVIEW Archery products are USA-made. Not only are you supporting a domestic business, but you’re getting the assurance of quality control in every part of the manufacturing process. This sight checks all boxes, from the easy-to-understand user manual to the well-located and dependable adjustments to the durable construction.
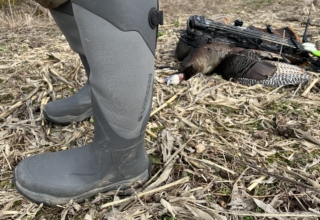
Despite its technicalities, everything about it streamlines the user experience while boasting the durability to hunt mountain goats on shale slopes at 13,000 feet. And by the way, the UV Slider easily comes apart via the QuickBreak feature. So, if you’re flying to Alaska for a Sitka blacktail hunt, remove the scope from the mount using the QuickBreak and securely stow both parts in the Compact Travel Case. Need to clean the sight after crawling through the Kansas gumbo? Take the sight apart in seconds to get at the nooks and crannies.
Stay In the Moment
Before the 120-yard group I referenced in my opener, it had been months since I shot beyond 80 yards, let alone 100 or 120. It’s been a busy year. I attribute the performance I experienced to a well-tuned bow and perhaps the most technical yet streamlined sight that money can buy. ULTRAVIEW says that the UV Slider lets you “Stay In The Moment” and not worry about your equipment. I felt peace of mind as I shot groups out to 120 yards. Alleviating concerns and distractions is the ladder to confidence. The UV Slider is that ladder.
Each batch is selling out fast. If you want to try the UV Slider, jump on ULTRAVIEW’s website and reserve yours today. I highly doubt you’ll be disappointed with this absolute masterpiece.